Open shelves…In your kitchen? Where will you hide all of your stuff? It will get so dusty? You’ll get tired of it after awhile….
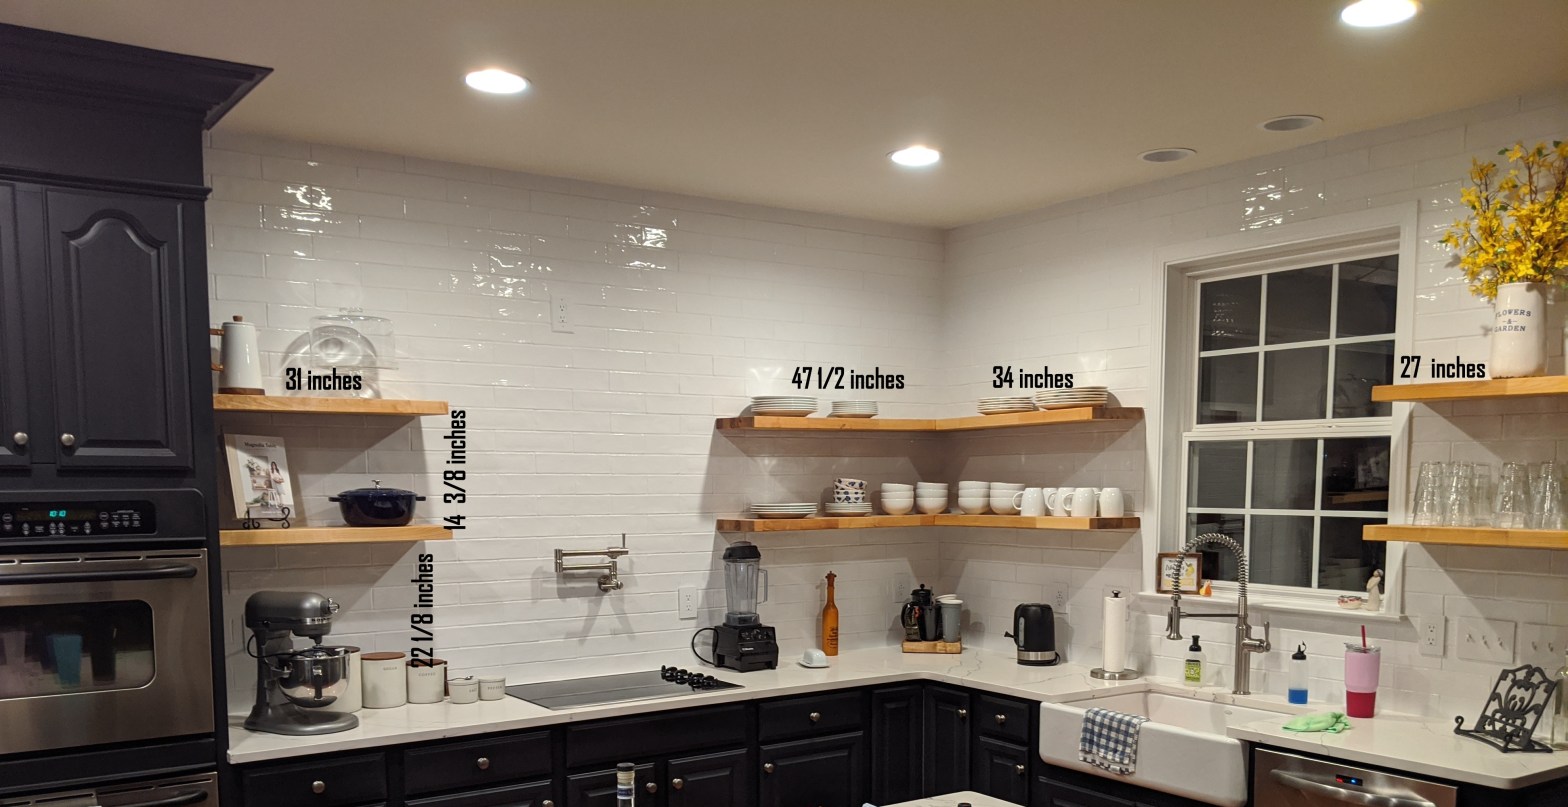
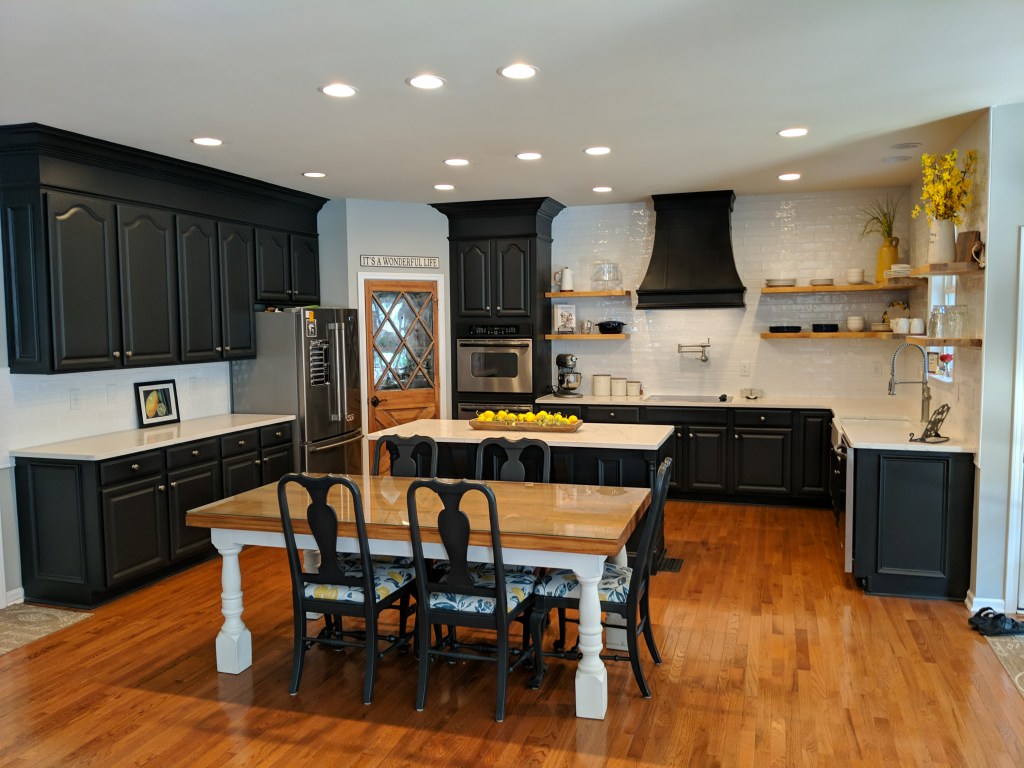
Well, I can tell you with confidence that a year later and I still absolutely LOVE having open shelves in my kitchen. There is just something about looking at beautiful things instead of having a big wall of cabinets in my face.
I won’t get into all the pros and cons here. A quick google search of open shelving will provide you with plenty of those. If you are like me and love being in your kitchen (or just looking at it and admiring how beautiful it is) then hang out with me for a few minutes and see how to do it yourself!
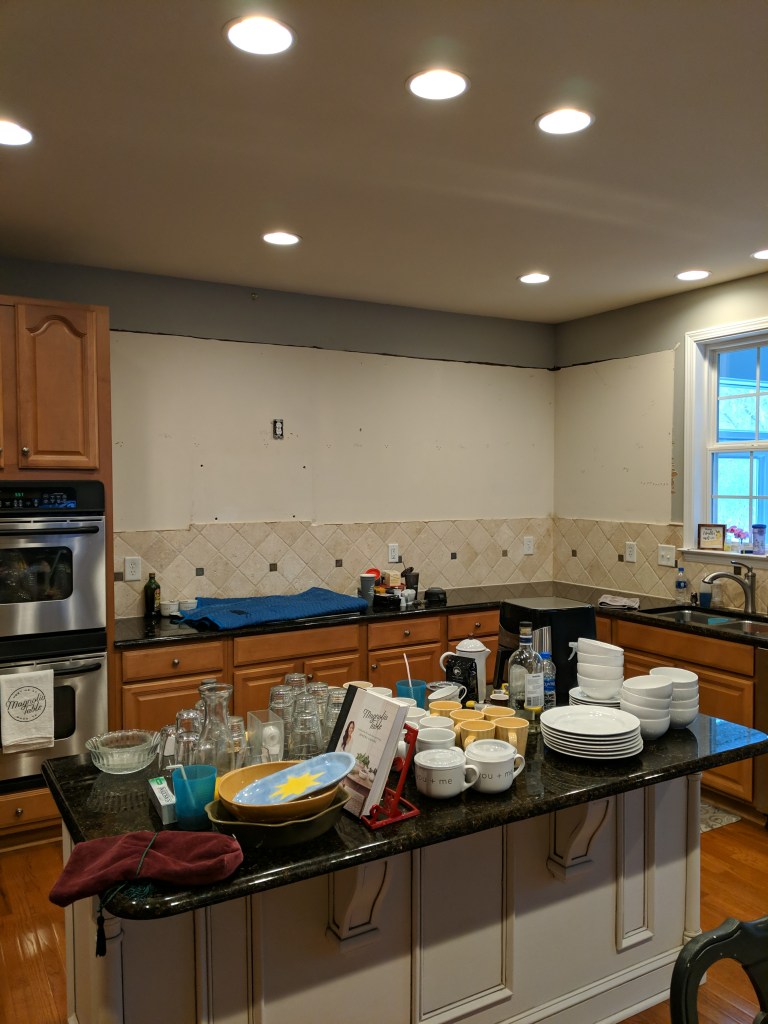
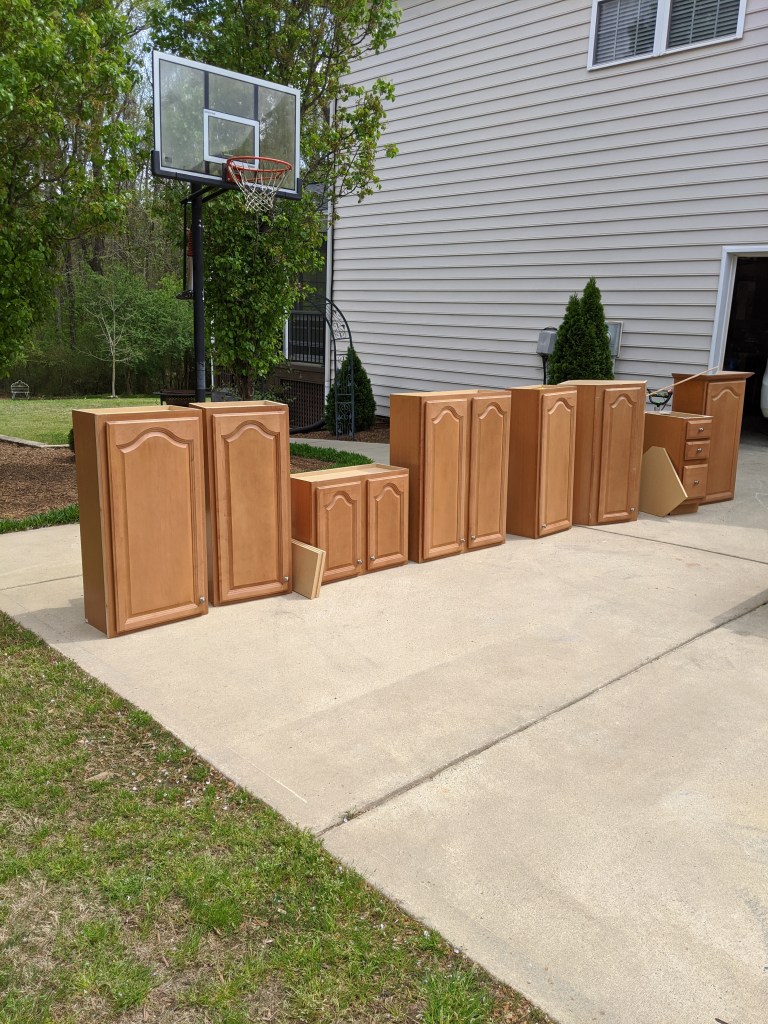
Step 1: Take a deep breath and then proceed to removing those uppers!
Step 2: measure your space and decide the layout. We decided to go with 4 groups of 2 shelves.

Step 3: Choose the material you would like to use for the shelving. We chose butcher block because of its durability and, you know, it is simply gorgeous in a kitchen!
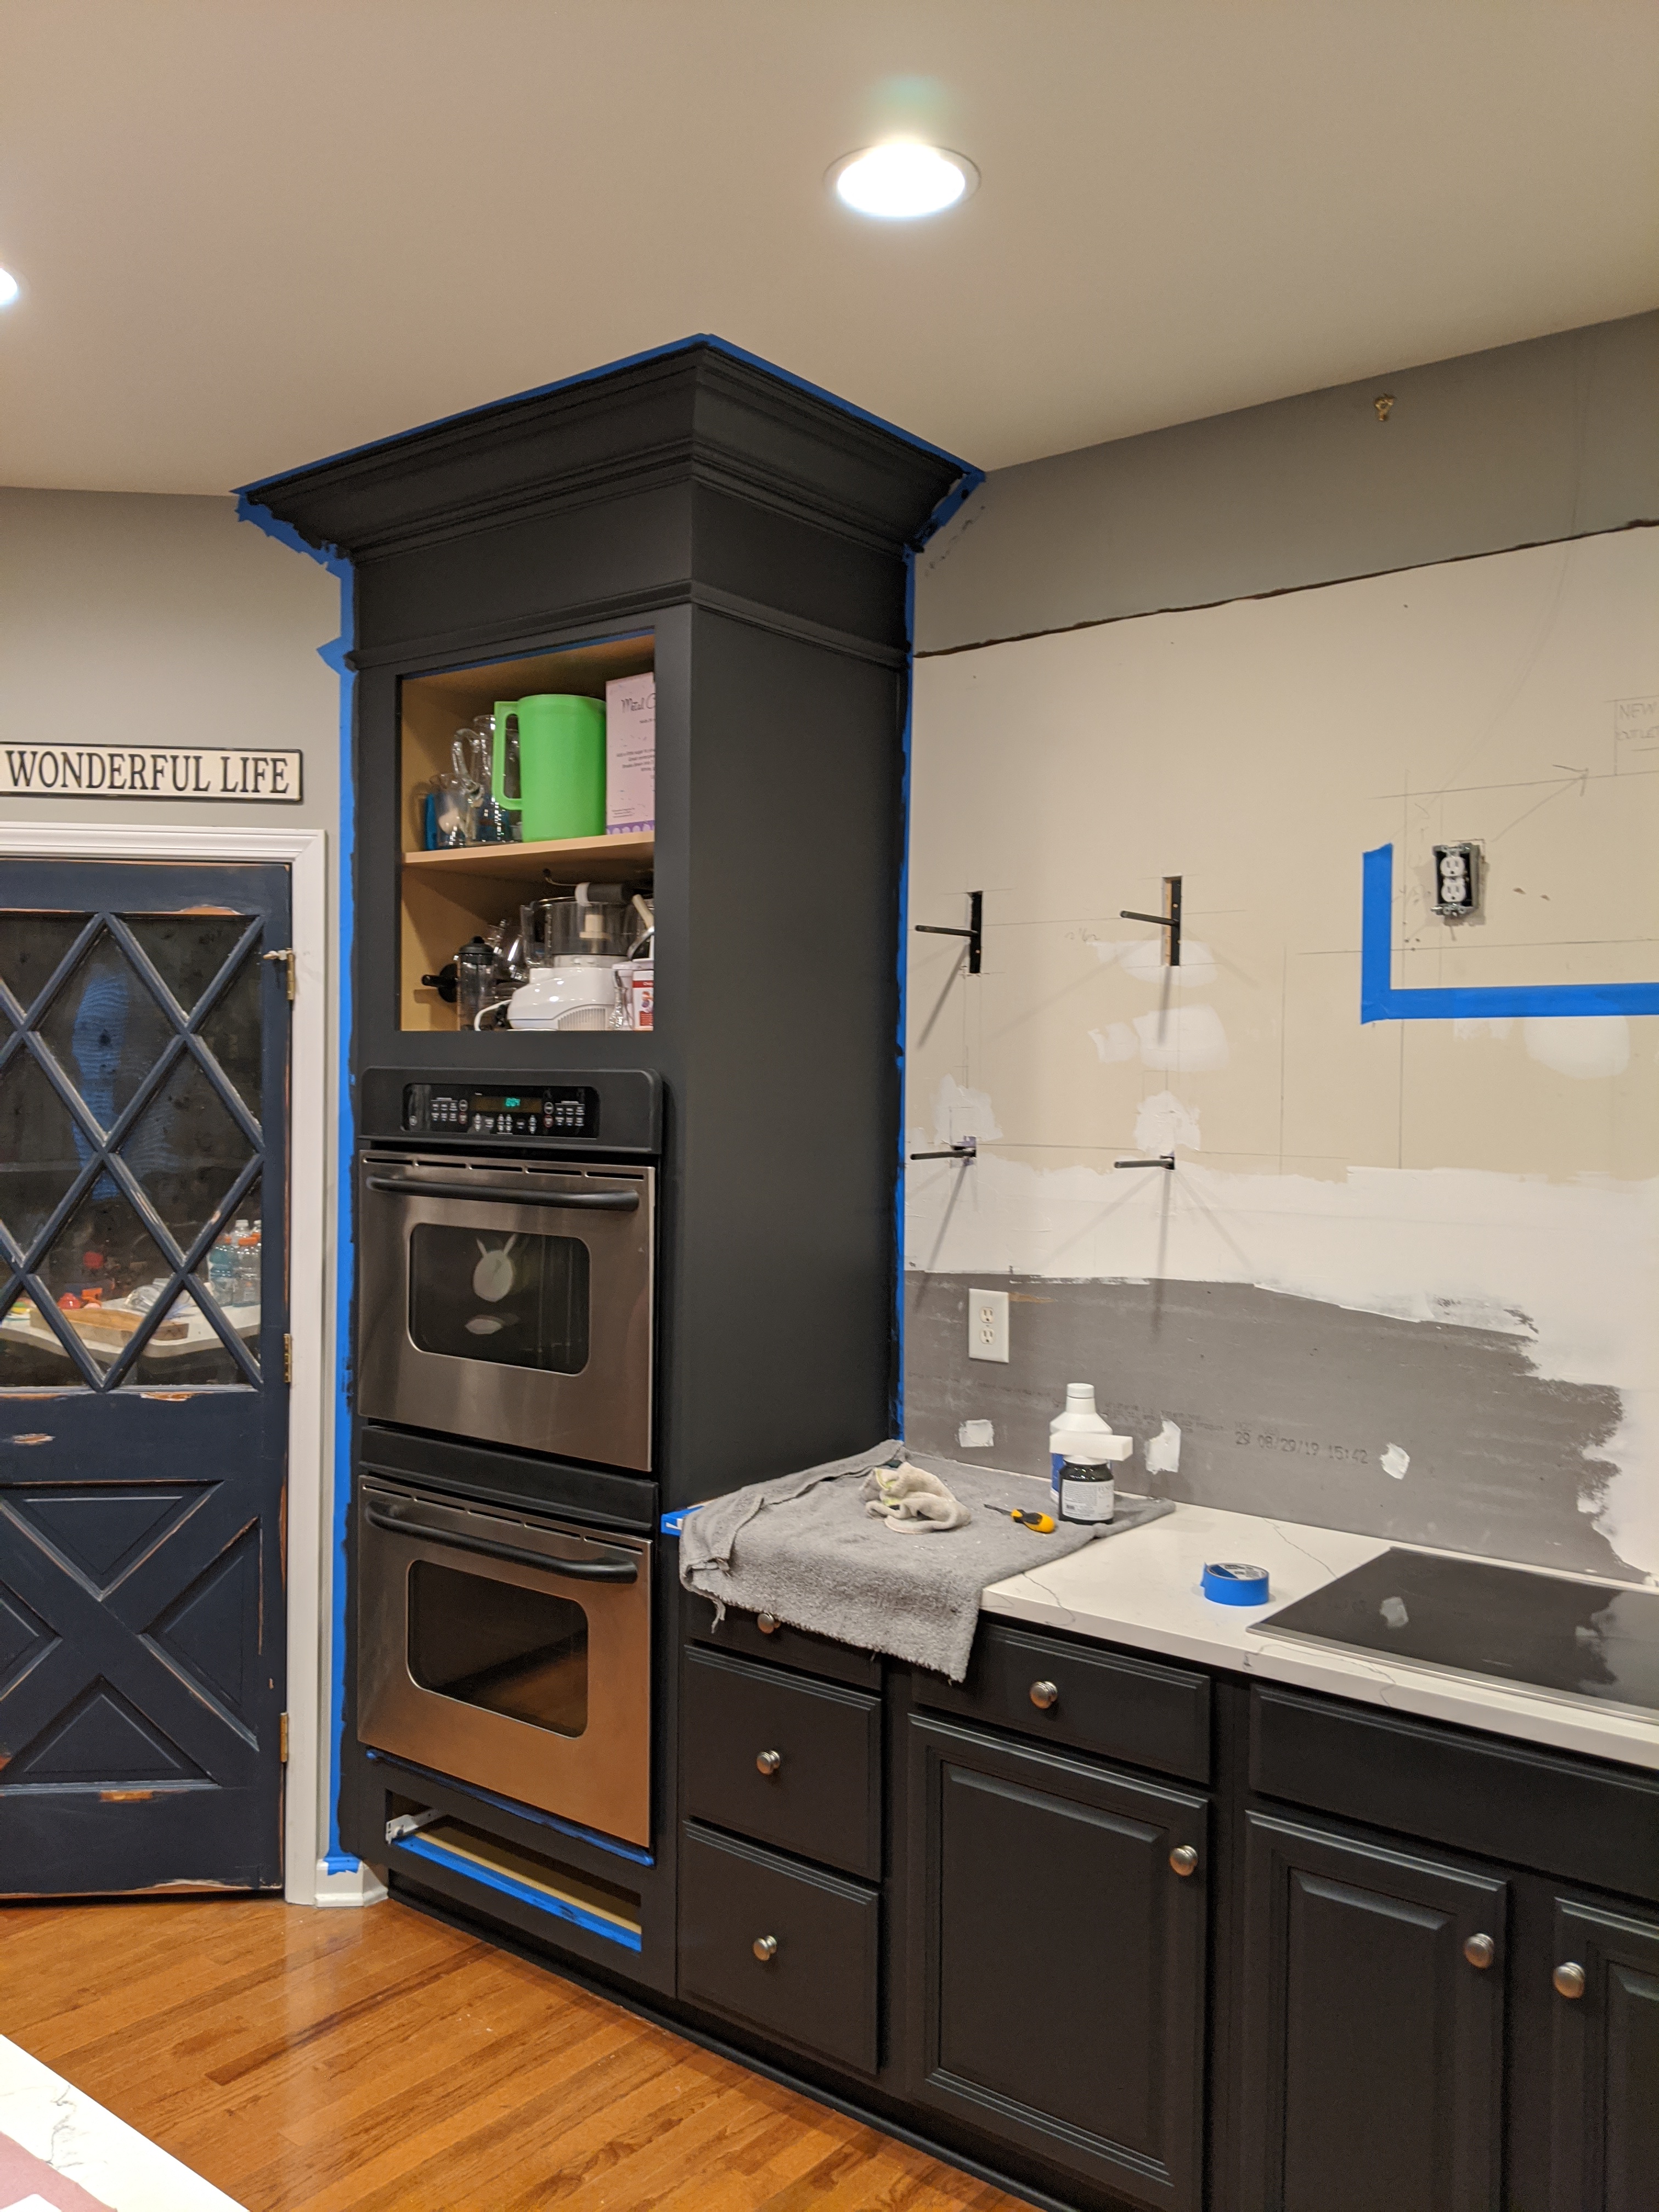
Step 3: Install supporting brackets for floating shelves (*Amazon link below*) We decided our existing backsplash had to go so the hubs was able to countersink the supporting brackets into studs, then place drywall over, and finally add the tile counter-to-ceiling backsplash.
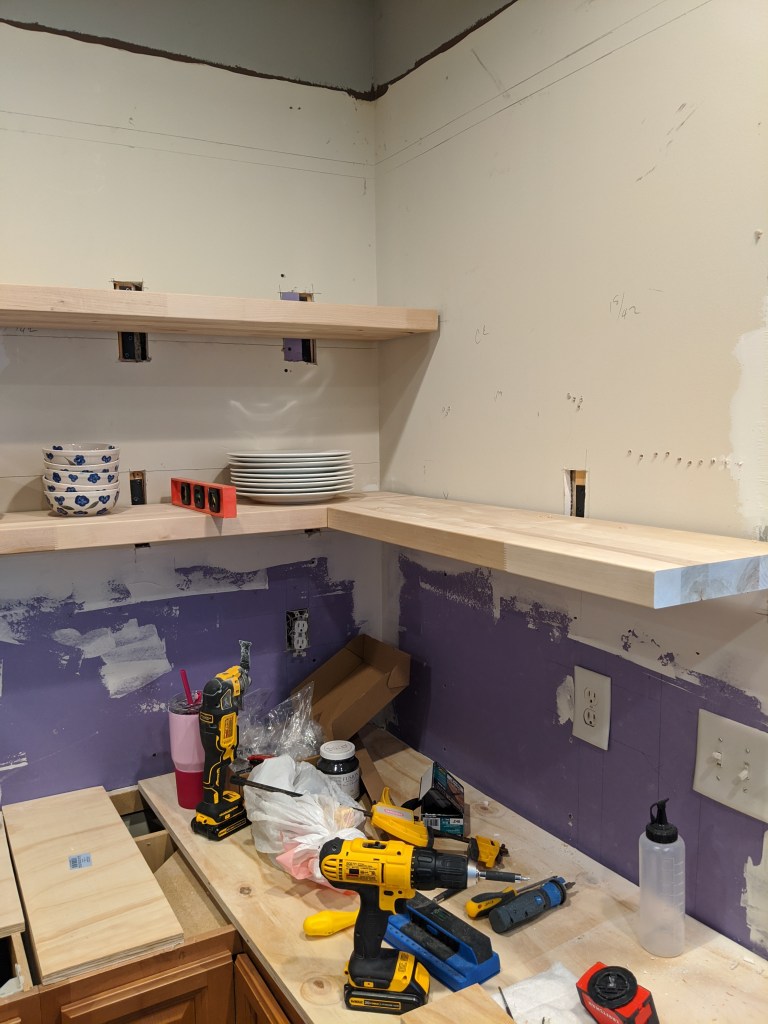


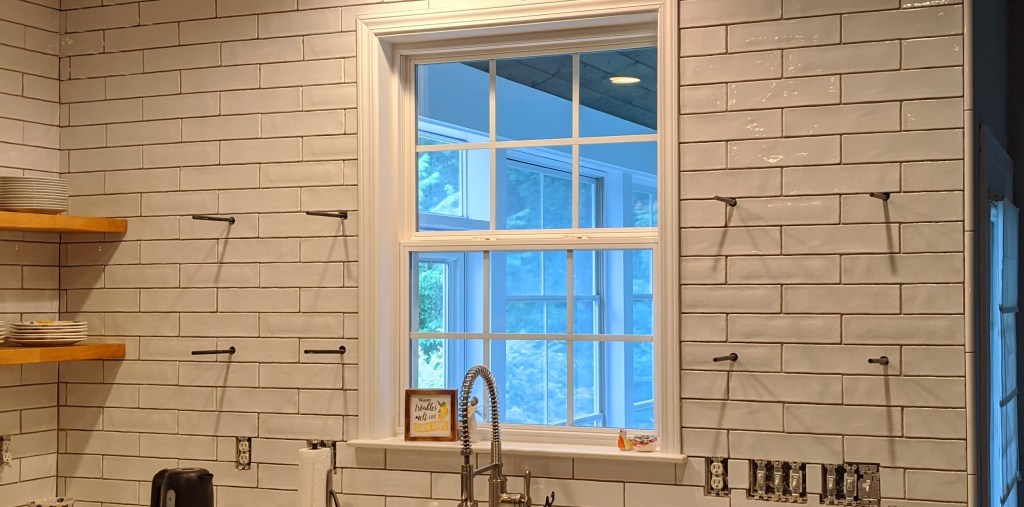
Step 4: Measure the brackets and make holes to match in the back of the butcher block.
Step 5: Test to make sure the holes line up. The hubs is laughing and I’m trying to figure out why… he says, “It might take a couple of adjustments” Whatever is he talking about, I thought they just slid right on the first try. His fault for making it look so easy!
Step 6: Decide the finish for the butcher block. Now, this part is EASY! You choose Fusion’s hemp oil. It is amazing stuff….food safe, easy to apply, wonderful, wonderful stuff. Have you bought yours yet? Seriously, you’ll love Fusion’s hemp oil so much you will look around the house trying to find other things you can put it on. Yep, it’s that great!

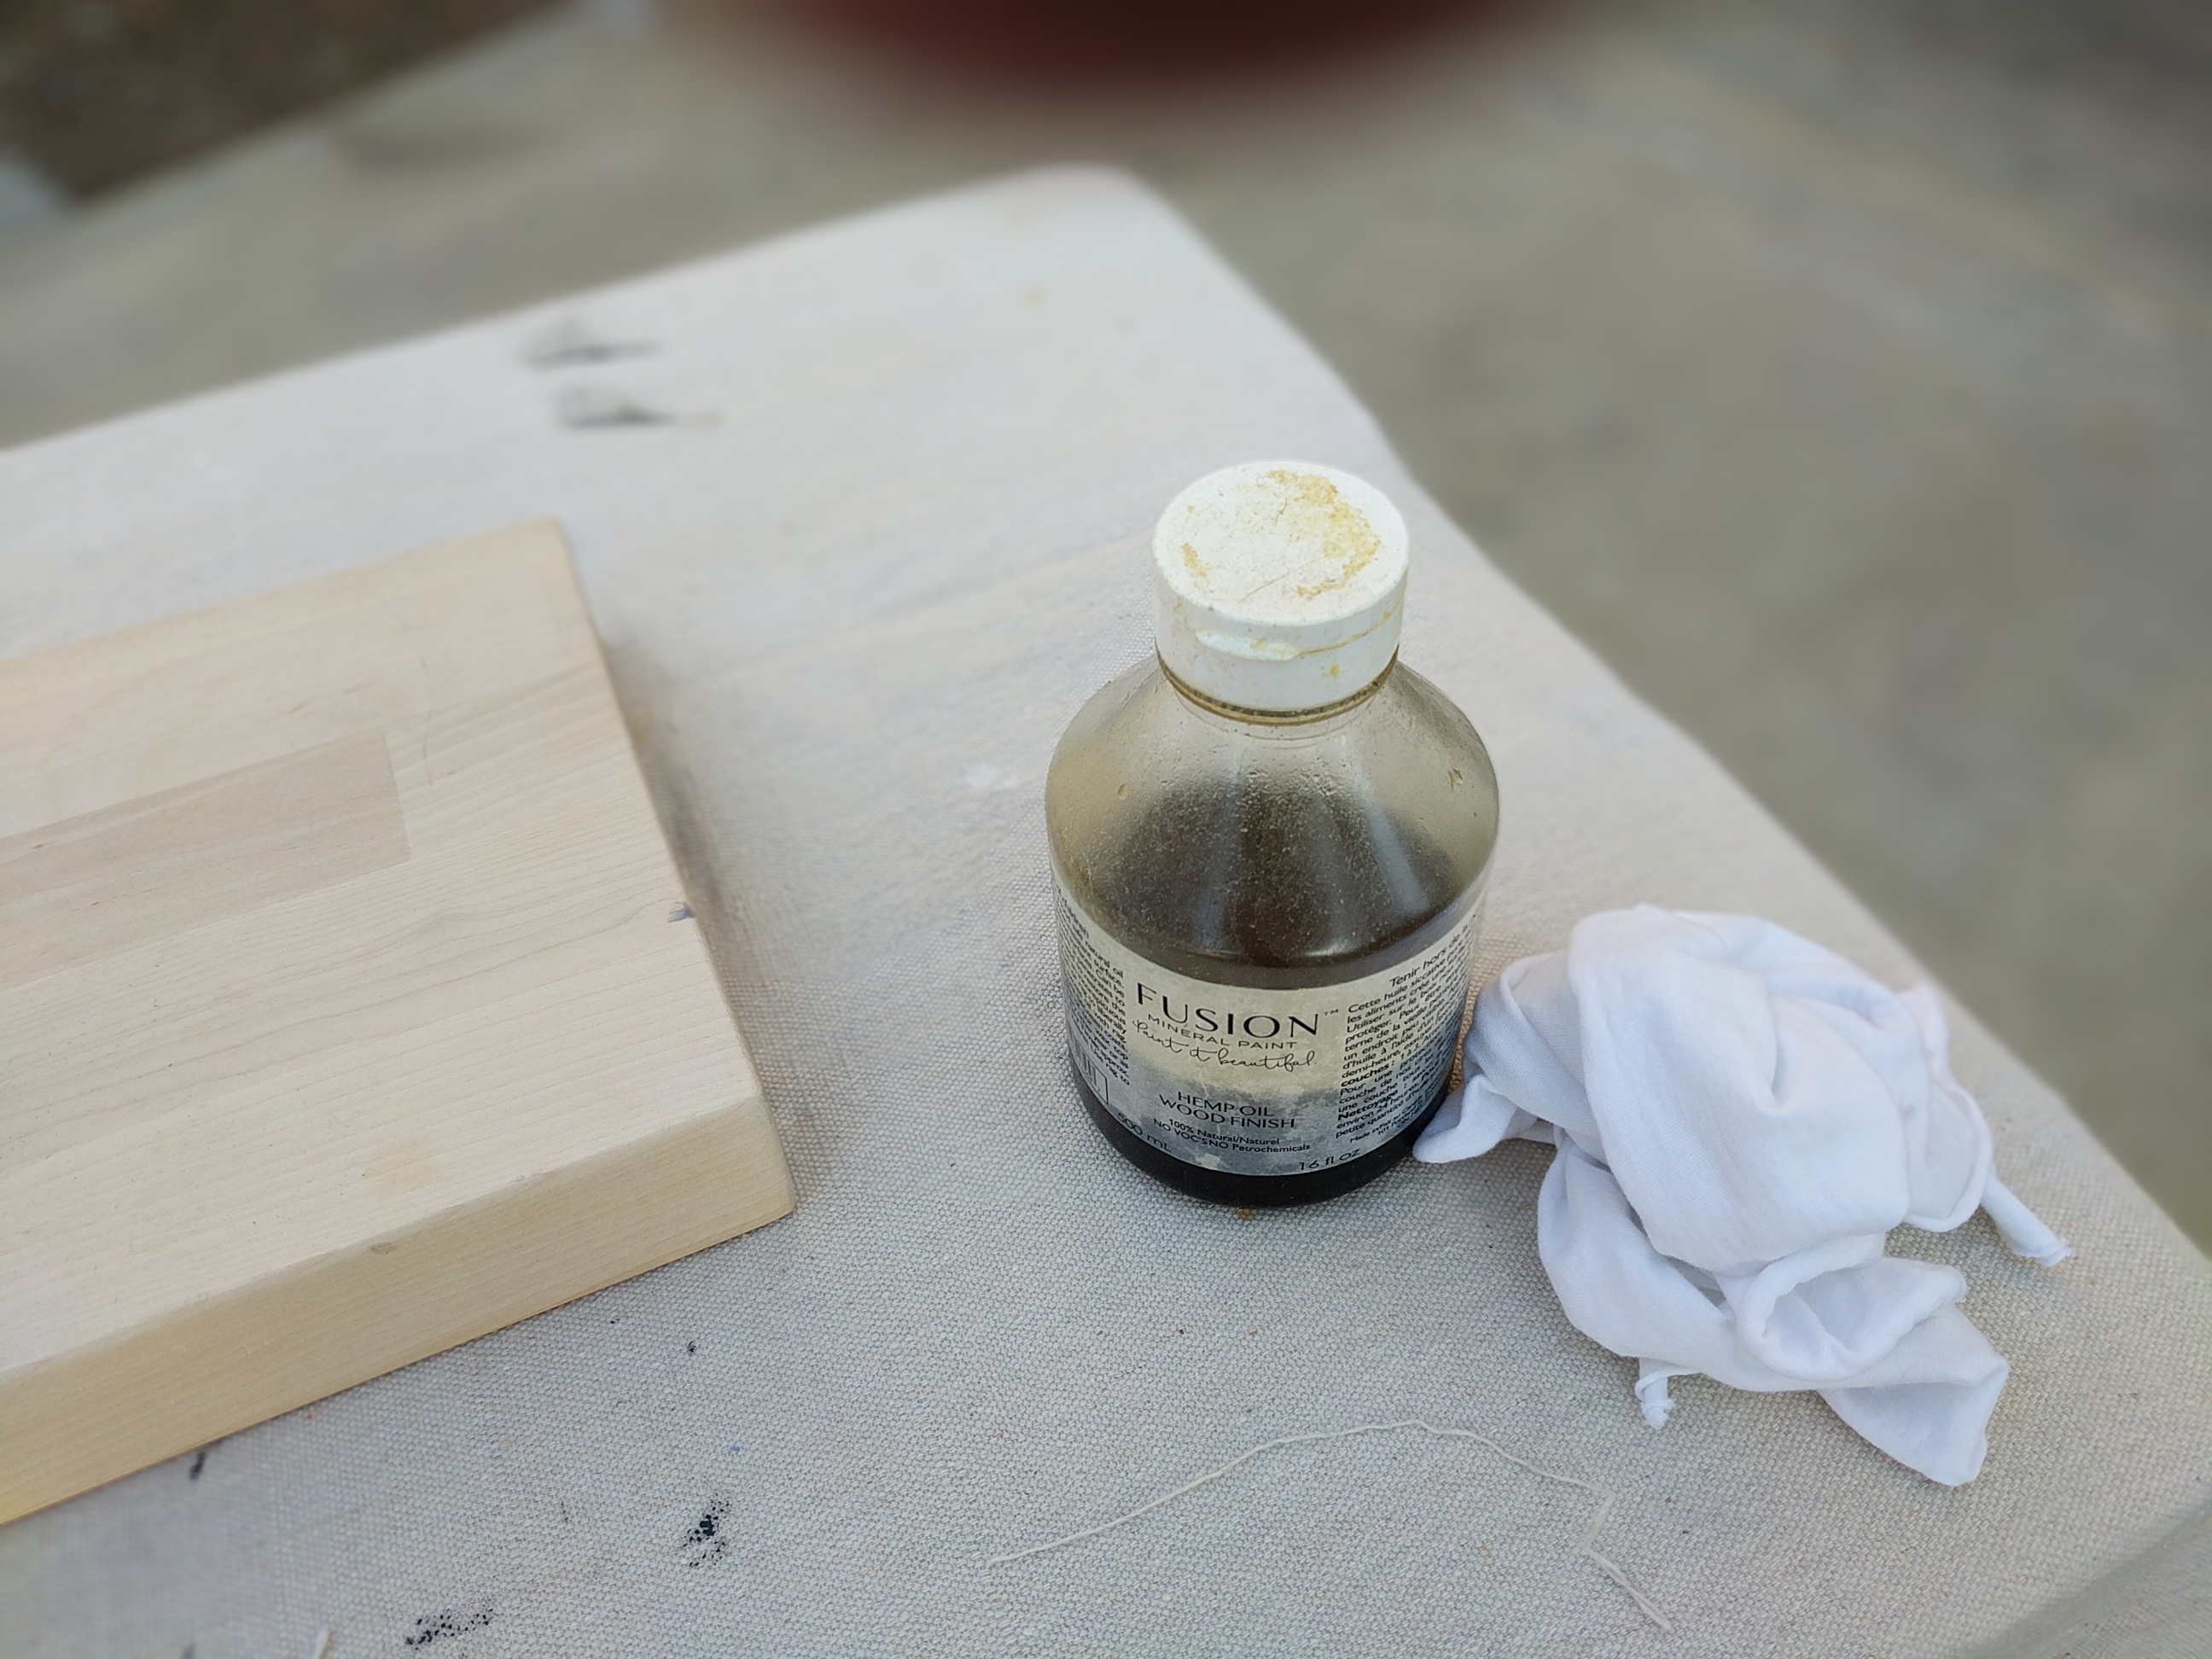
*note we tried various other products from stain to tongue oil but it didn’t look good- like at all.
Step 7: Now, the fun part! You get to style your shelves and enjoy the character and beauty of the items you love! Get rid of whatever you were hiding in your cabinets that you never used in the first place. Buy some dishes you love and add some color to your kitchen. Find a sweet message that will inspire you and place that on your beautiful new shelf. Display your favorite cookbook so it is always at your fingertips for when you want to whip up something delicious! You could place a pretty plant….the possibilities are endless! Enjoy!
Product links:
Brackets for floating shelves: https://www.amazon.com/Black-Solid-Floating-Bracket-Supports/dp/B082FLS82X/ref=mp_s_a_1_3?dchild=1&keywords=steel+floating+shelf+bracket&qid=1616982243&sprefix=steel+floating+shelf&sr=8-3
Fusion hemp oil: https://fusionmineralpaint.com/products/finish/hemp-oil-wood-finish/
